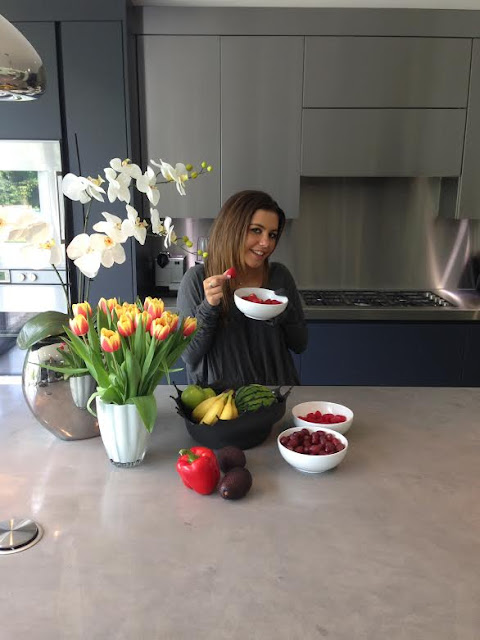
BEFORE:

AFTER:
In the original photo I only had to change a few things such as removing with a rubber tool the silver metal circle on the kitchen top, I also used the stamp tool to take the grey onto where I got rid of the metal. I enhanced the colours using hue and saturation and colour brightness on the fruit and flowers to give it a brighter look. Also, the raspberry in the models hand had to ben enhanced to become more of a brighter and florescent pink to bring out the colours on the clothing and the kitchen. I used these tools to give the photograph a brighter and happier feel and to give it a more of a magazine look.
I have learnt how to use new tool such as the stamp and how you can cover up existing things such as the metal.

BEFORE:

AFTER:
On this image I used the cropping tool and the pen tool to cut out the background which was not needed in the image, I also used the pen tool to cut the board out of the background. I then used the kitchen top in the first image as a background and placed the board on the background. I enhanced the colour of the vegetables buy using colour brightness and saturation.
I made these changes to give the vegetables a brighter look to look more fresh against the background of grey. I learnt how to use the pen tool and cut around the board to place the board on the grey background of the kitchen tops.
Unit 51 Page Layout and Design - Assignment 2 - Task 2 - Before and After - Evidence of P3,M3
ReplyDelete